How to Deactivate an Office 365 User in One Million Easy Steps
July 23, 2015 Leave a Comment
Some enterprise email systems are easy. Some email systems are hard. Guess which one Microsoft made.
My employer – at my urging, I must admit – uses Office 365 for its email. It does a lot of things very well, but removing a user who has left the company is not one of them. Part of it is jumping through licensing hoops, part of it concerns security, and part of it is just a convoluted management interface that requires way too many clicks.
For example, say Christopher Pike takes over Robert April’s job. If we just change April’s account password and forward all his email to Pike, we’re stuck paying for April’s license for all eternity. If we delete the account and add April’s address as an alias to Pike’s account, then all April’s old mail is gone – not to mention any message sent to robert.april@ncc1701.starfleet.fed will appear to Pike as if it had been sent directly to christopher.pike@ncc1701.starfleet.fed.
Sharing is Caring
To display which recipient the sender was actually emailing, we can convert Robert April’s account into a Shared Mailbox and have it forward to Christopher Pike. It’s a bunch of steps, but we end up with less confusion for our end users and less money spent toward essentially unused licenses.
Revoke access
- Log in to http://portal.microsoft.com
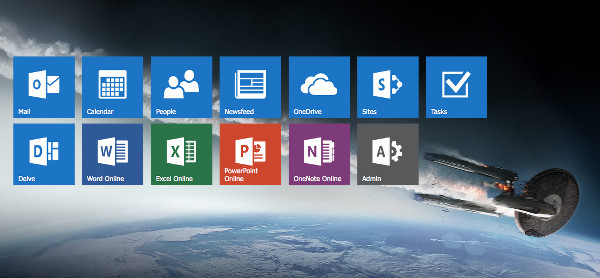
- Click “Admin” button
- In main “Office 365 admin center”, click “USERS” -> “Active Users”
- Select person to be deactivated
- Click “RESET PASSWORD” button (opens slide-over panel)
- Click “Reset” button
- Click “Close” button (closes panel)
- Click “EDIT” button (or double-click person)
- Click “Settings”
- Under “Set sign-in status” select “Blocked”
- Click “Save” button
Convert mailbox
- Under “ADMIN” on the left, click “Exchange” (opens new tab)
- Under “recipients” click “mailboxes”
- Select person to be deactivated
- Under “Convert to Shared Mailbox” click “Convert”
- Click “Yes” or “OK” button to any warnings
- After the operation completes, click “Close” button
Set forwarding address
- Still in the “Exchange admin center” -> “recipients” tab, click “shared” along top
- Double-click person you just converted (opens pop-up window)
- Tick “Hide from address lists”
- Click “mailbox features”
- Under “Mail Flow” and “Delivery Options” click “View details” (opens pop-up window)
- Tick “Enable forwarding”
- Click “browse…” button (opens pop-up window)
- Select name of person to forward email to
- Click “OK” button (closes pop-up window)
- Click “OK” button (closes pop-up window)
- Click “Save” button (closes pop-up window)
- Close tab
Reclaim license
- Back in “Office 365 admin center”, select person to be deactivated again
- Under “Assigned license” click “Edit” next to listed license (opens slide-over panel)
- Un-tick the box next to the assigned license
- Click “SAVE” button (closes panel)
NOTE: Do not delete the user under “Active Users”. If you do, the shared mailbox and all the saved mail will be deleted too. To clean up the “Active Users” screen, select a different view from the dropdown menu. You can define your own custom view by selecting “New view” from the dropdown menu at the top and entering your desired criteria.
Also note that resetting a user’s password does not take effect right away. For some reason, both the old password and the newly reset password work for anything from a few minutes to several hours. Because reasons.
Thanks to TrekCore for screencapping every moment of Star Trek in obsessive detail.


